
Quick Crafts: A Bow Hair Clip
 Well hello there! I hope you all had a magnificent weekend. I started stage one of a new recipe on Sunday afternoon but had to abandon my plans for it. At 3.30pm, the light almost turned to night time as a storm came so I had to give up on dreams of a naturally lit photo shoot yesterday. Bear with me though, it's a bonfire night treat so well worth the wait!
What I can bring to you on this (still) drizzly Monday afternoon is a little craft project, that once you get past a bit of fiddly-ness it's rather easy peasy! I've worn this hair bow a couple of times since making it and it is the perfect addition to my autumn wardrobe.
Bow Hair Clip
What you will need:
A 14" length of ribbon, around 1" wide (We'll call it ribbon A)
A 10" length of contrasting ribbon around ½" wide (We'll call it ribbon B)
A 5" length of ribbon (to match ribbon A) ½" wide again (We'll call it ribbon C)
Hair Clip or Slide
Needle
Cotton in a similar colour to ribbon
Strong adhesive, like Superglue
A 10" length of contrasting ribbon around ½" wide (We'll call it ribbon B)
A 5" length of ribbon (to match ribbon A) ½" wide again (We'll call it ribbon C)
Hair Clip or Slide
Needle
Cotton in a similar colour to ribbon
Strong adhesive, like Superglue
What to do:
Cut the ends of each ribbon length at an angle (as below). Take Ribbon A and fold the ends into the centre, overlapping them.
Thread your needle and knot the end. Keep this within easy reach.
Cut the ends of each ribbon length at an angle (as below). Take Ribbon A and fold the ends into the centre, overlapping them.
Thread your needle and knot the end. Keep this within easy reach.

Next, pinch the centre of the folded ribbon to create a bow shape. You can use your free hand to adjust the shape and make the ribbon sit how you want it.

Then, while still pinching the ribbon in this shape, start to stitch through the middle of the ruched part. Go through and back again a few times, until the shape you created with your hand stays when released. To finish the stitch off, wrap the cotton round the outside several times and knot underneath the band this creates.

Repeat these steps with Ribbon B then stitch it onto Ribbon A in the same way.

Next, wrap Ribbon C round the centre, to cover your stitching.

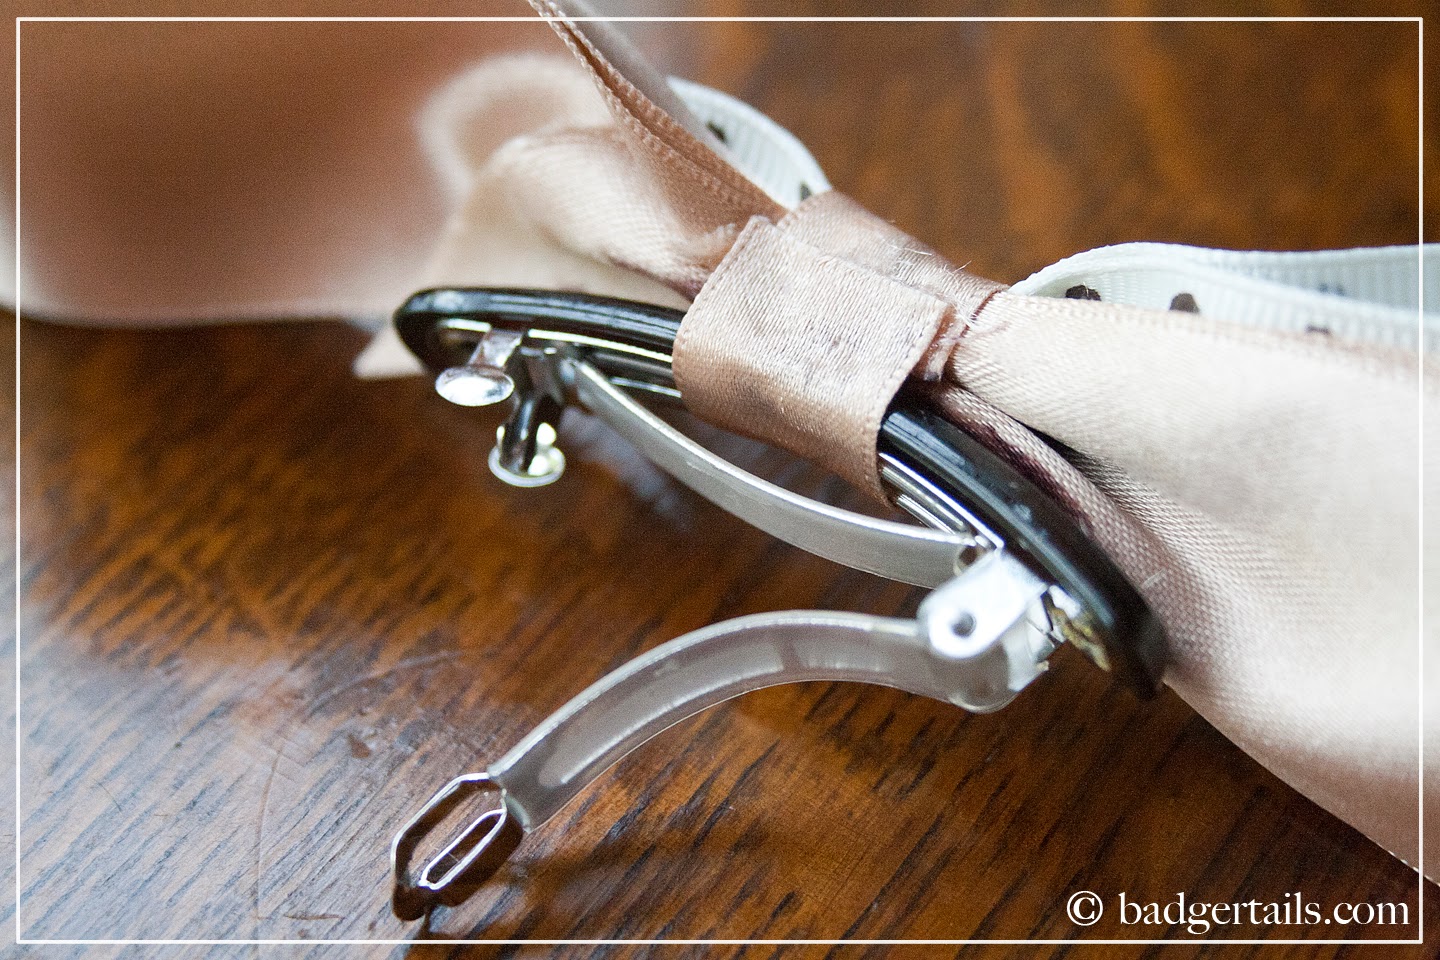
Turn the bow over and thread Ribbon C through the back of the hair clip.

This is the fiddly part that, if you have someone available, they could help by holding the ribbon tight. I managed it myself but did glue my fingers a bit, so please be careful!
Glue Ribbon C together at the back of the bow, then trim off the excess of Ribbon C to neaten the join.
The reason this last part is fiddly is due to the clip not naturally sitting where you need it to. If anyone tries this with different clips / slides I'd love to hear your method.
Leave to dry completely before using in your hair... We don't want this to turn into a glue-related-haircut situation!

I also had to take this final 'selfie' photo myself, which means it doesn't show it in my hair as well as I'd like. But I've worn it at the bottom of a plait and at the very top of a high ponytail, and both have looked really lovely.
Because of the nature of the clip, it can be worn any way; underneath a bun, in front of a bun, to hold back a fringe or even clip it onto your handbag. It can also be made with any type of ribbon and any size you like... the possibilities are endless!
I hope you like today's Quick Crafts post and HUGE thanks for reading, as always!

BADGERTAILS

Hi! I'm Katy. A fifties-loving country bumpkin, bringing you tales of my travels in amongst my love of home & a retro lifestyle.
0 comments
Thank you for stopping by!